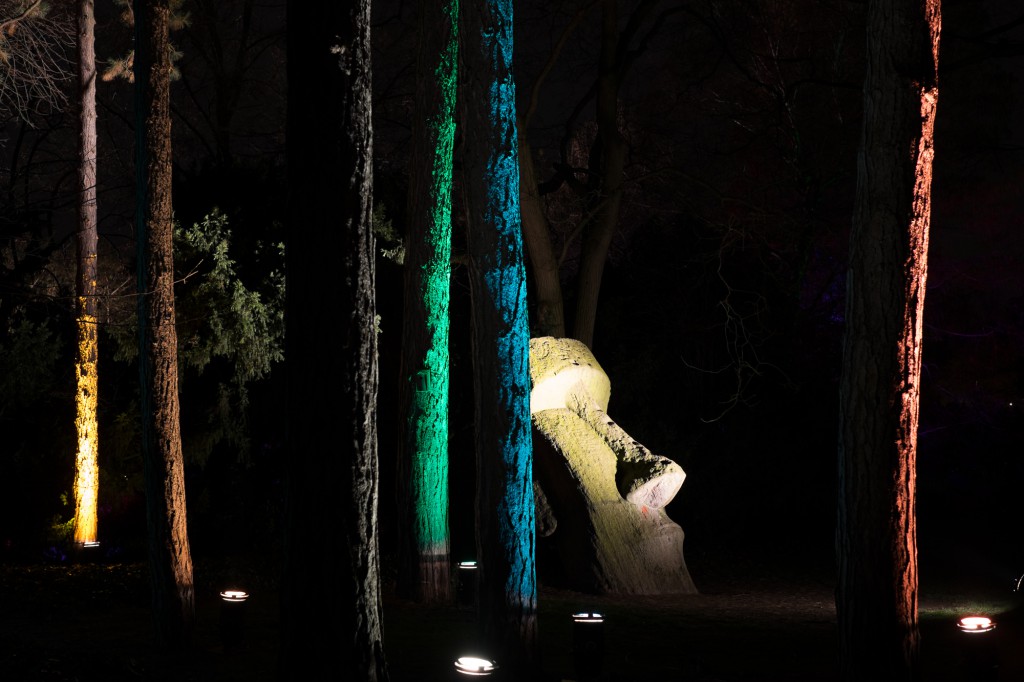
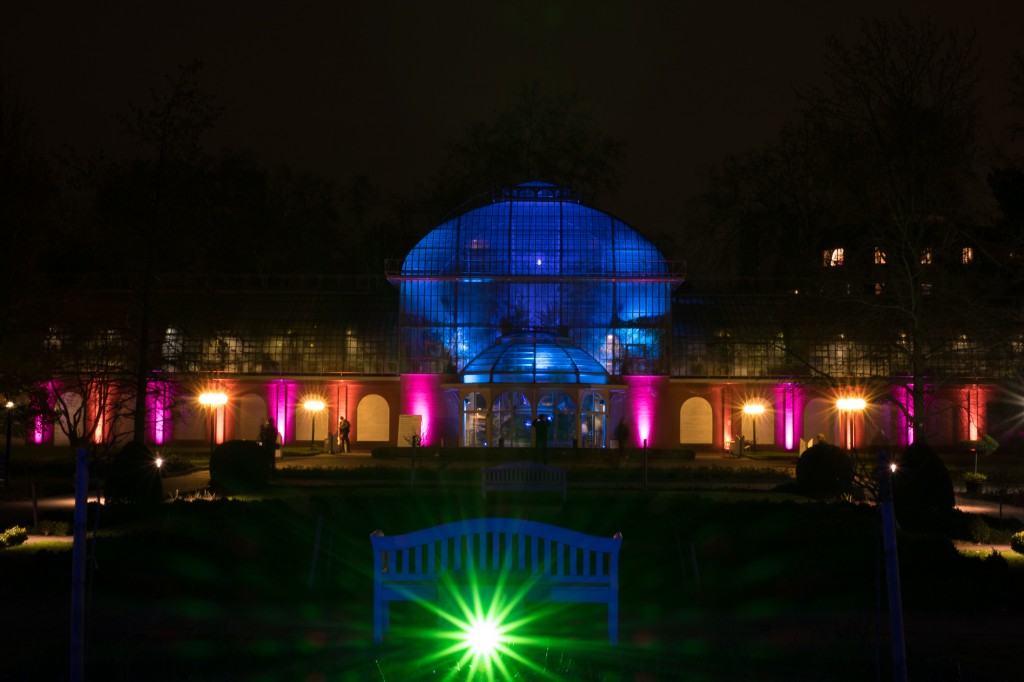
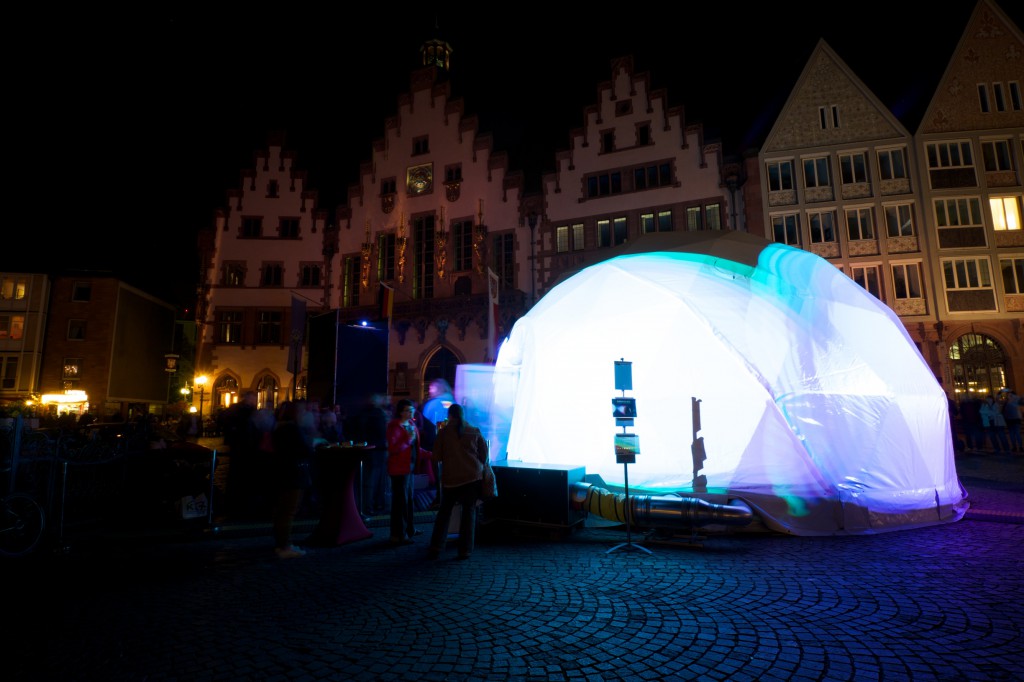
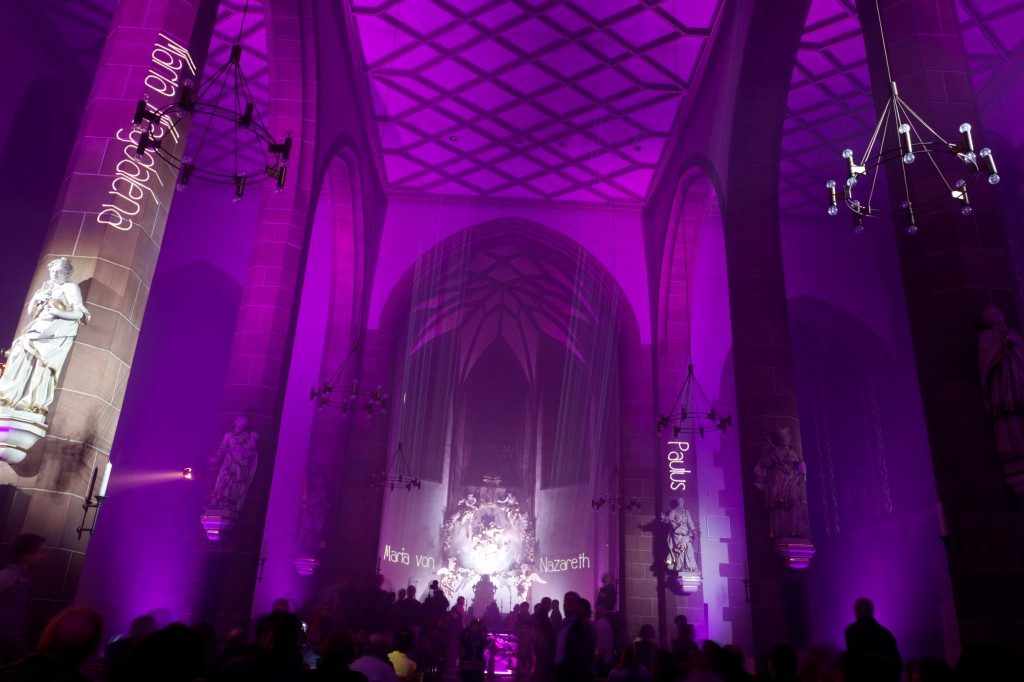
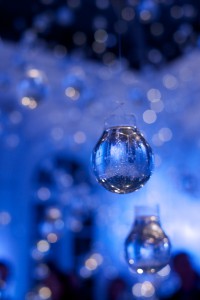
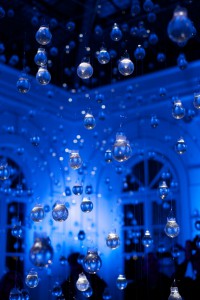
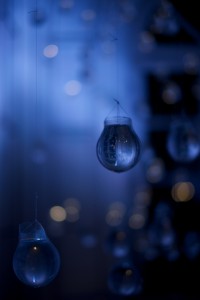
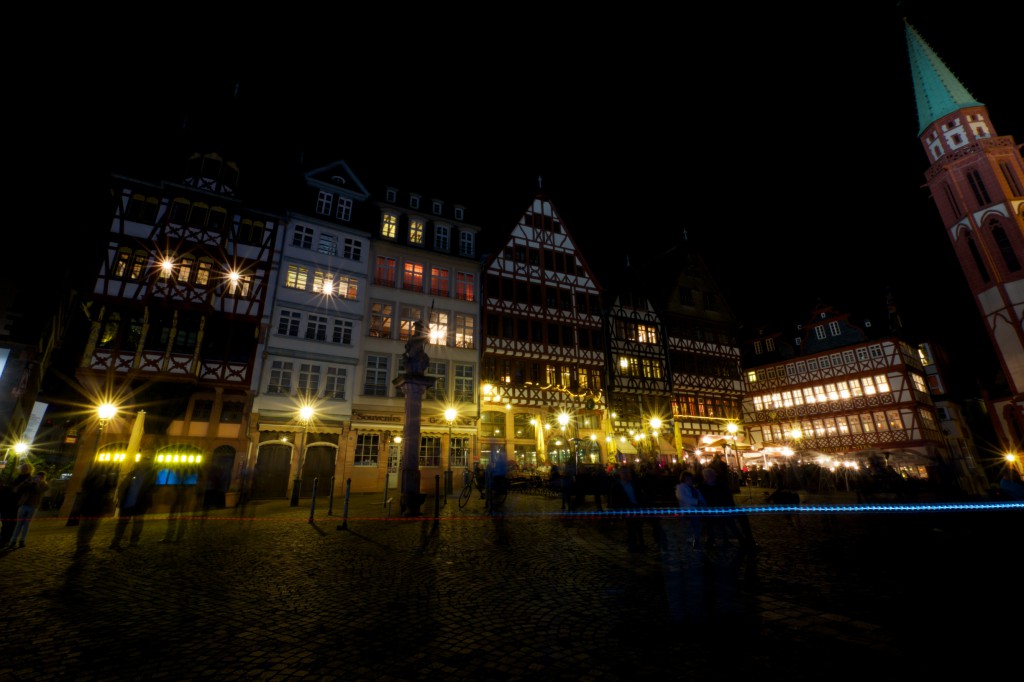
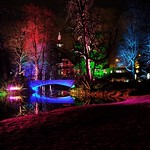
Last week we had a bi-annual art exhibition in Frankfurt in which art students and some international artists showcase art pieces based around light in the city. I always love this opportunity to do some long exposure images, even if it is a lot of guessing and testing for me.
Long exposure: when your automatic modes will hinder you
First things first: here you really will want to have sturdy tripod. Long exposures mean no hand-holding the camera because the exposure times will be just too long. Additionally, if you have an image stabilized lens, turn off the stabilization – with a tripod it might actually cause unsharpness. Also, you should definitely turn off your flash.
After you have done this, it is important to understand that you will definitely want to step outside of your automatic modes for this. Most automatic modes I have encountered will try to make your image as bright as possible (since it will be relying on the histogram) – which you will not want in most instances. This unfortunately also means Aperture Priority is out. Shutter priority usually will not work either because you will be stuck with the widest aperture the lens has. This is also due to the fact that the automatic modes will always try to get a setting that you can still hand-hold – it doesn’t know you are shooting on a tripod. So it is time to go full manual!
ISO Speed, Aperture and Shutter Speed – find the right mix
When you go into manual mode you have several things you can play with: ISO Speed, Aperture and Shutter Speed. Since you will be shooting on a tripod, set your ISO Speed to 100 or 200 (Fuji recommends 200 for its camera lineup since apparently you lose color vibrancy at ISO 100 with their cameras, with most others I would go with ISO 100). This will give you nice sharp results without noticeable noise in the image (the little off-color points you will see in a lot of your hand-held night shots).
This of course means that you will have to take longer exposures and/or open up the aperture more to get the same amount of light into your image (higher ISO needs less light). So now we are down to two factors: your aperture and your shutter speed. Keep in mind for this discussion, that a low f number means a wider aperture. A wide aperture has two effects: more light can come into the camera (since it will be open) but also you will get a shallower depth of field – meaning less of the image will be sharp (though at long distances this might be unnoticeable in some instances).
If you are taking images involving lights, you also need to be aware that a small aperture will lead to “sun-stars” – which are a matter of personal preference. I really enjoy them but a lot of people dislike them.
So the smaller the aperture you chose, the longer your exposure time will have to be. This can get tricky with colored lights at night: the longer you expose them, the higher changes are that they will loose their color and turn white – especially if they change color. Also longer exposures might mean a moving light will form a line of light and people will “vanish” from your images since they are pretty dark and don’t leave enough light in the image to stay in it (which can be a blessing 😉 ).Which is the moment in which experimentation enters the picture: take a bunch of images at different combinations of aperture and shutter speed to see which gives you the best results.
If you want to see mine, see my three albums from this year experimenting with light. If you click on the image, you will see some of the exif info for them so you can check the aperture and shutter speed settings I used. Here they are: Winterlichter, Luminale in the Palmengarten, Luminale in Frankfurt
