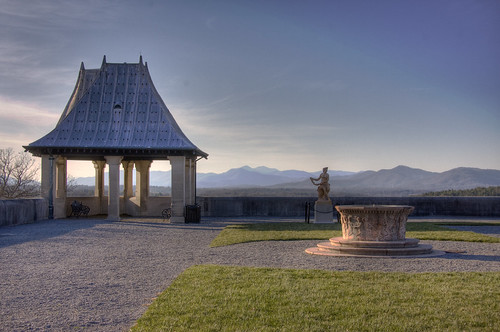
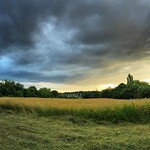
In November I did a one-week road trip starting in Atlanta, going to Gatlinburg, Charlotte, Charleston and Savannah. As you probably can imagine, I took a ton of photos on the trip. The hardest thing for photographing was the weather: pure sunshine with no clouds. This meant that the dynamic range was too much for my sensor, so I decided to use HDRs a lot of times. In the past I have used Hydra for this but sometimes Hydra does not give me the results I would like to have. Since I had a ton of photos on my Mac with three different exposures, I decided to try out Photomatix again. This was mainly because one photo didn’t come out in Hydra like I wanted it to look.
This were the three starting photos:


As you can see the middle exposure is not as popping as it could be (remember to click on an image to see a larger version). So I decided to try Hydra on it. This are the two results I liked best: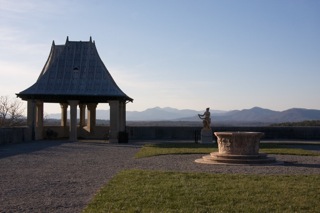
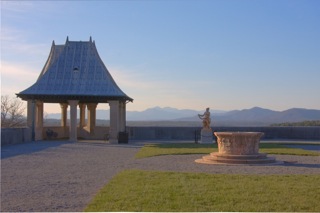
The first one is a simple overlay of the images and the second one it tone-mapped – although it is a bit too saturated for my taste. But somehow neither picture really resonated with me (especially since I was looking for the best look for the mountains in the background. So I decided to try Photomatix. If you have ever tried it, Photomatix has a lot more options for customizing the results of your HDR, which is a good thing but also makes it more complicated to use. Because of the many options, among others I got these results: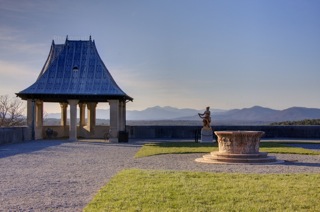
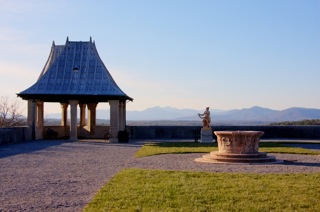
Neither one is really perfect… I decided to also try Photoshop CS3 but I haven’t saved that one because it didn’t look at all like what I wanted to have for my photo So I decided to try Photomatix again after I had decided to buy Photomatix to have more options for my HDR projects. The final result I came up with: