As you might know, I really like to work with HDR files from time to time and I always prefer to keep them pretty close to natural looking (just with a higher dynamic range). Some time ago I spent a day playing tourist guide to friends in Frankfurt, which was kinda fun since you never look at cities you consider your home the same way as tourists would (in fact, this was the first time I had my camera with me in Frankfurt). During that photo shoot, I took almost exclusively three RAW files of every file to be able to make HDRs since the sky was super blue and I didn’t have an ND filter with me.
One subject was especially suited to HDR: a dark gate under an overhanging on which the sun was shining.
This is how it would have looked as a normal photo (totally unprocessed)
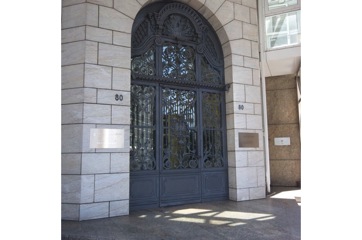
It’s really not too bad but the gate does not really pop and you can’t really see all the details in the structure. Therefore I took three shots with the AEB automation with exposure of +/- 2 to get extreme differences in exposure.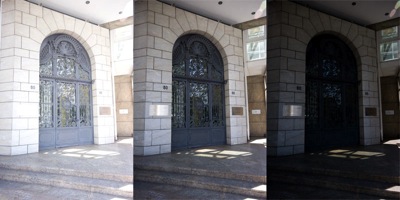
As I said, I had taken a lot of shots for HDR processing that day, so I decided to do a batch processing in Photomatix, which is pretty great, even though I can’t do much more with my Mac while this is running. I always let it do three versions of the photo (the two options you find under tonemapping and the fusion option with automatic lighting). The best version was this one:
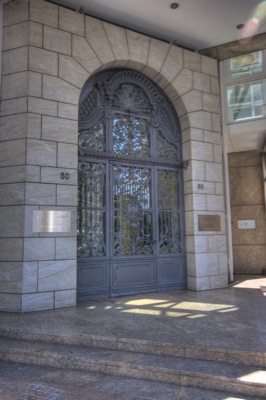
As you can see, it is pretty close to the originall, just the gate itself is a lot lighter and the reflections in the glass are more pronounced. There is also more contrast in the stones. But I wasn’t totally satisfied with it, so I tried a few more ideas:
The first was a version for which I made the HDR in Photoshop CS3 and then used the tonemapping plugin of Photomatix in Photoshop. The result can be seen below and while I liked this version, the details in the gate do not come out at all, in fact, I have a lot of artifacts in the darker areas (remember, click any photo to see a large version).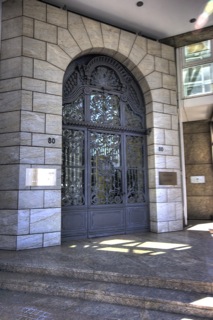
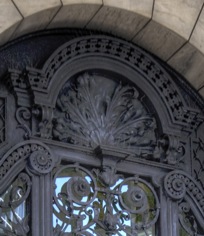
Then I decided to try Hydra, a HDR app for Macs (I am still using the first version, though), which has pretty good results sometimes, too. This was the result from Hydra: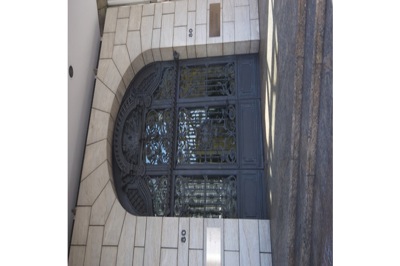
I didn’t really like this result because it did none of the things I wanted to accomplish, so I decided to fire up Photomatix once again and do a manual processing with it of the photo. I also decided to play a bit more with the levers in Photomatix than I usually do to get a bit more extreme results than usually. This is the version I finally decided on: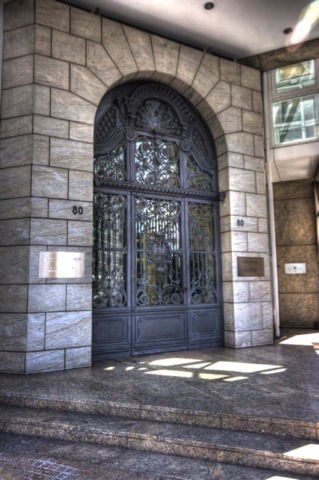
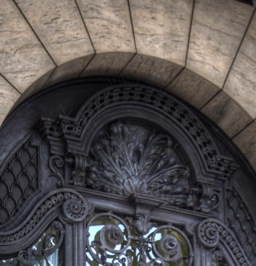
As you can see, its a much more moody picture than any of the other versions and the details look like they are supposed to look! It’s really amazing how different you can process an HDR and how different the results can look.
What do you think, did I decide on the right version?
