In January Lomography opened up a Kickstarter project for a Film Scanner that they developed for 35mm film that works with your iPhone. Kickstarter is a way for companies and individuals to collect money to bring a product or project to market and Lomography said the Scanner itself was already finished, they mainly did the project to get additional funds for the smartphone apps that were needed (which i can understand, those are expensive and outside their knowledge). I was one of the first people to back it and was able to get in at 40$ for the Scanner.
I got it a few weeks later but without the software at first because that was not yet finished. Regardless I tried it and was rather puzzled at first, I was only able to see 1/4 of a negative – which did not really make sense. Of course, if I had read the manual first I would have seen that the Scanner comes with a Mask for LomoKino films (short films done on 35mm film) and that was installed in the Scanner.
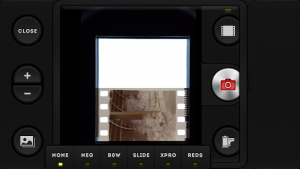
Last week the iPhone app was released and I downloaded it and did some additional tests – now without the mask installed 😛 You install your phone into a holding mechanism at the top that you can move so that the camera is above a hole through which you take the image. at the side of the bottom there is a slit where you enter the film strip and then you have a small knob you turn to advance the film. In the scanner you can turn on an LED light over which the negative will be shown and you can take your image of it.
The iPhone app allows you to chose which type of Film you have (Negative, Slide, Cross, Redscale & None) and you can zoom into the part you see on your iPhone so that ideally you will not have to crop the output at all and then you have a button to take the image. It couldn’t be easier or faster to take images. The good thing: smartphone cameras get better and better so the “scans” you take this way will only improve over time.
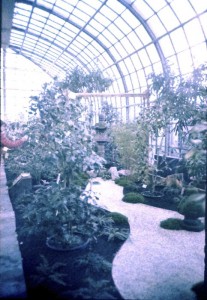
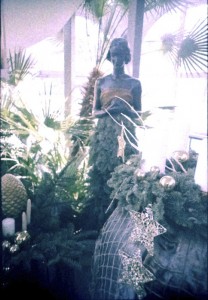
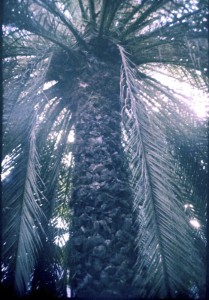
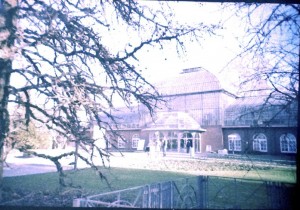
But the question of course is, how to the results look! Let me start of with some images using the Negative setting (these images were taken using a LC-A+ and 200 ISO Color Negative film).
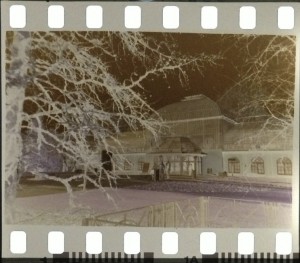
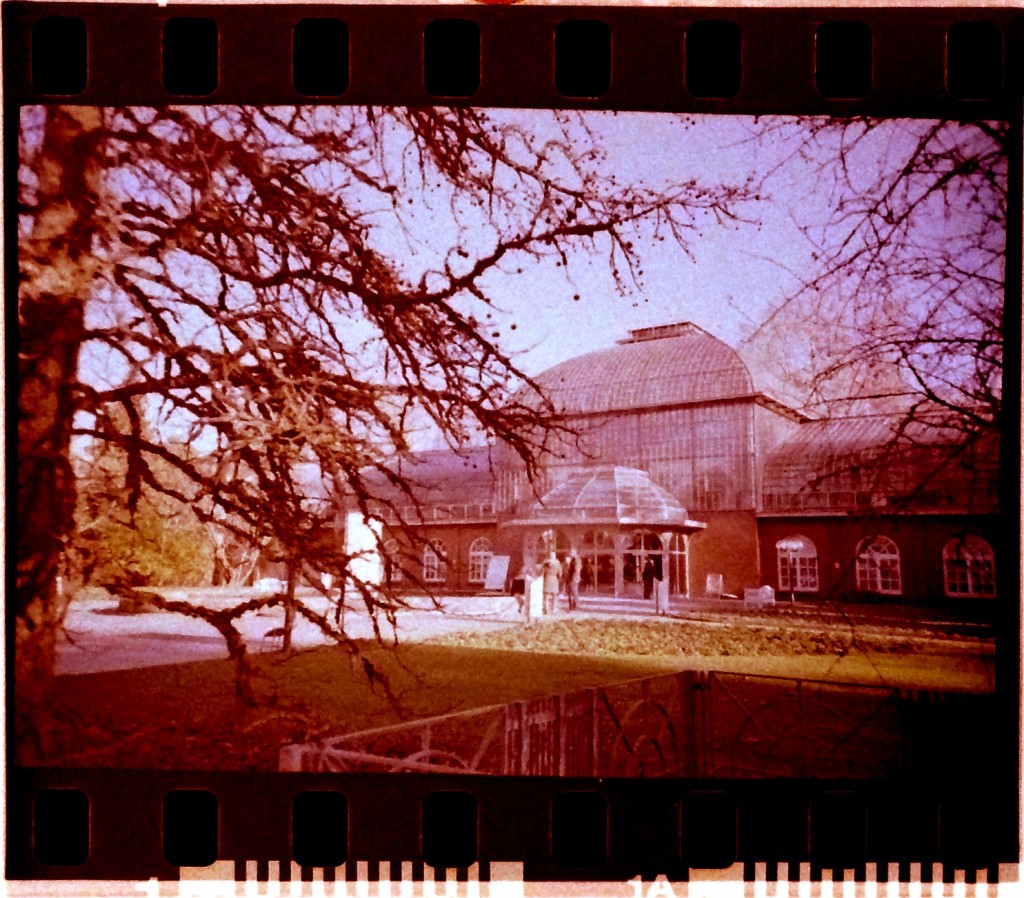
Not to bad (and all above 1.3MP) but the colors are rather washed out. So I decided to do another test (since I had been battling my scanner all weekend, too, but that is another story for another day) and this time I chose the None option to get the negative straight from the scanner and do the invert in Photoshop. The first image, is also done using the Neg option (no other processing was done) and the other is from the negative in Photoshop.
As you can see, the difference is striking and the Photoshop one wasn’t optimized beyond using the Curves Preset for Film Negatives either, so there is probably a lot you could still do. Overall, the scanner is really great, especially for the price, since it gives you a way to digitize your negatives fast – which can especially be great as a first step for seeing what you got and then only using the “big” scanner for the best images you might want to upload to Flickr or something. It can also scan the sprockets and can do Panoramas, which my big scanner is refusing to do (that rant is forthcoming). The one thing right now that could be better is the conversion within the app – but really, that is all software and can become better in the coming months, especially since Lomo is actively looking at user feedback to make the app better. An android version, btw, is also on the way.
You can buy the Scanner on the online store of Lomography or in their stores.
