Gallery: Winterlichter Dec. 2022
December 27, 2022
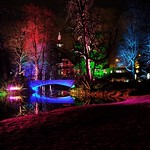
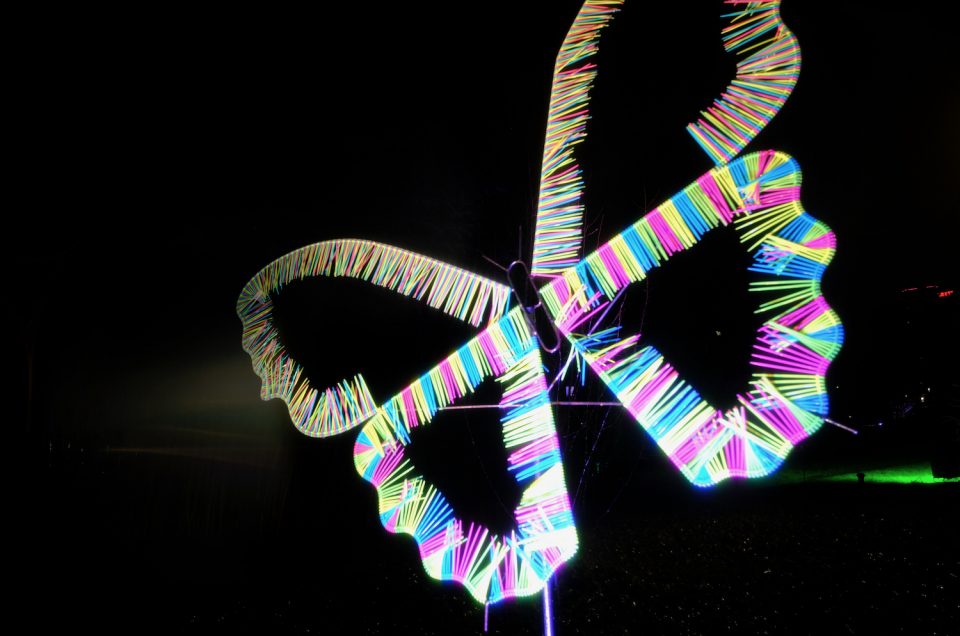
Photos from my annual trip to see the christmas lights in the botanical gardens in frankfurt
Photos from my annual trip to see the christmas lights in the botanical gardens in frankfurt
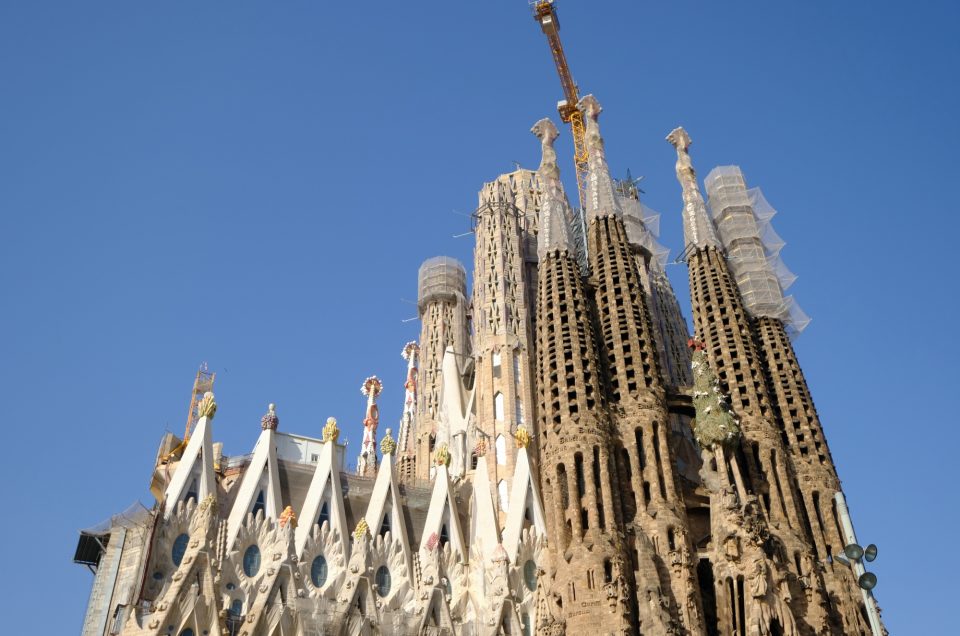
Some images from the Sagrada Familia – truly words do not do it justice!
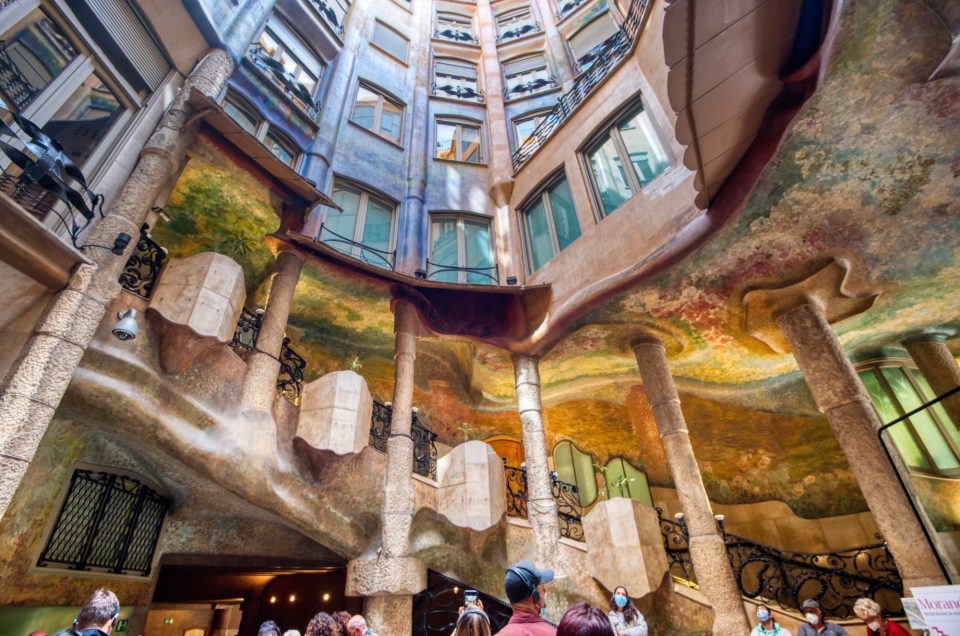
A random selection of images from three houses designed by Antony Gaudi
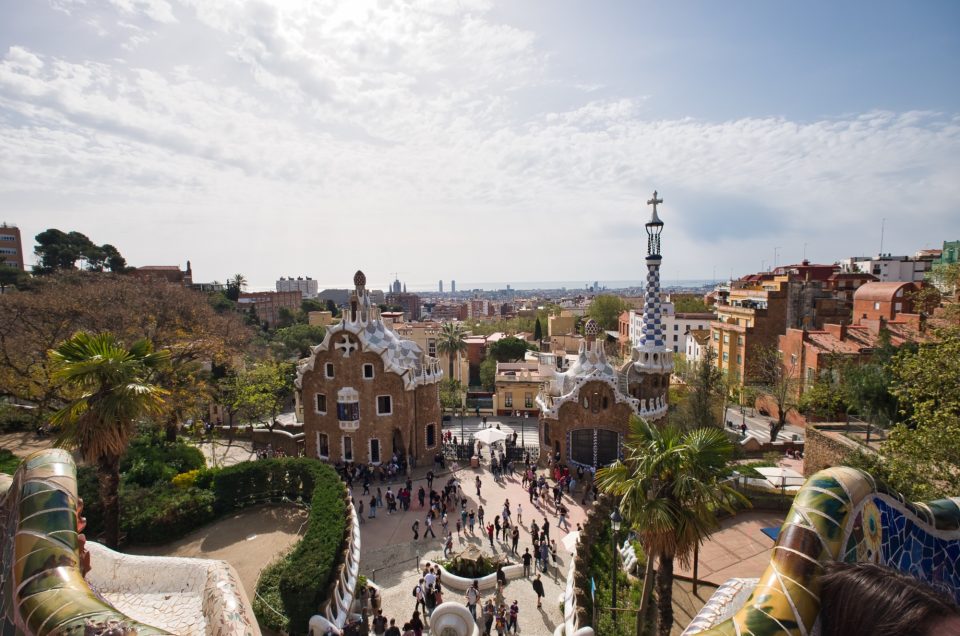
Images from Park Guell in Barcelona which was designed by Gaudi – a great place to stroll and enjoy nature